Enable SEI 2.0
Step 1: Request Access
To enable SEI 2.0 for your account, submit a request through Harness Support and mention that you'd like access to the SEI 2.0 Experience. Our Product team will work with you to enable the required feature flag.
Once the feature flag is turned on, you’ll need to update your account’s access permissions so the right users can explore the new dashboards.
Step 2: Create a Role for SEI 2.0 Access
If you're an Account Admin, follow these steps to create a role with SEI 2.0 access:
-
In Harness, go to Account Settings and then select Access Control.
-
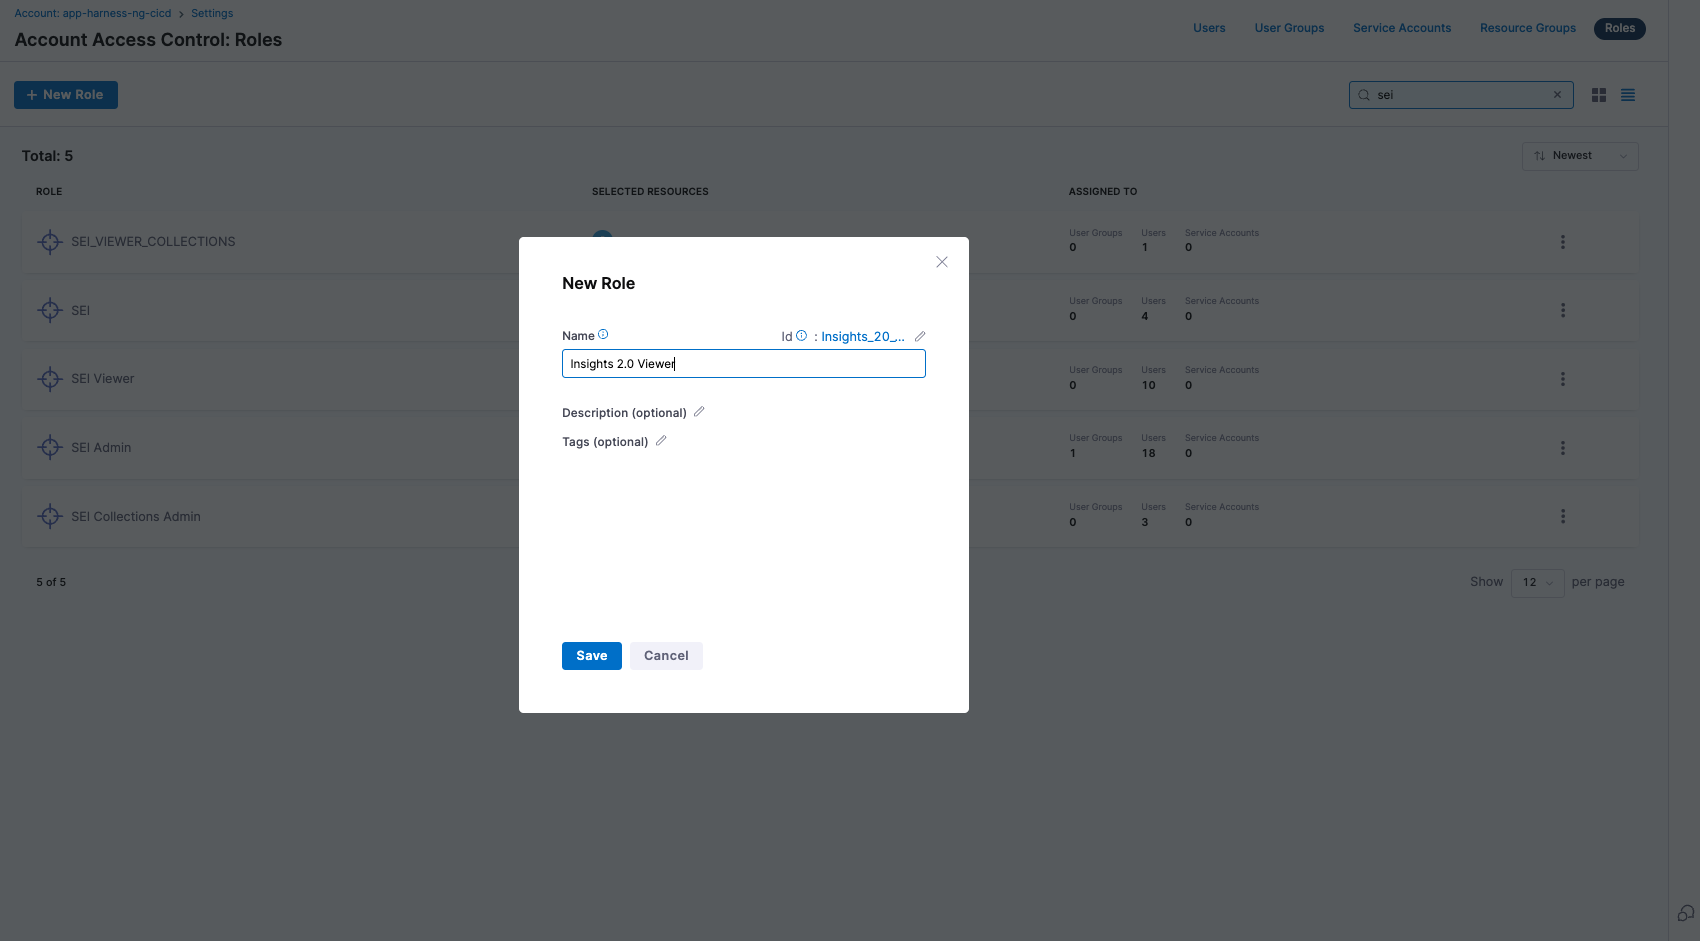
Select Roles in the header, and then select New Role.
-
Give your role a Name (e.g. SEI 2.0 Viewer). Description and Tags are optional.
-
Select Save.
-
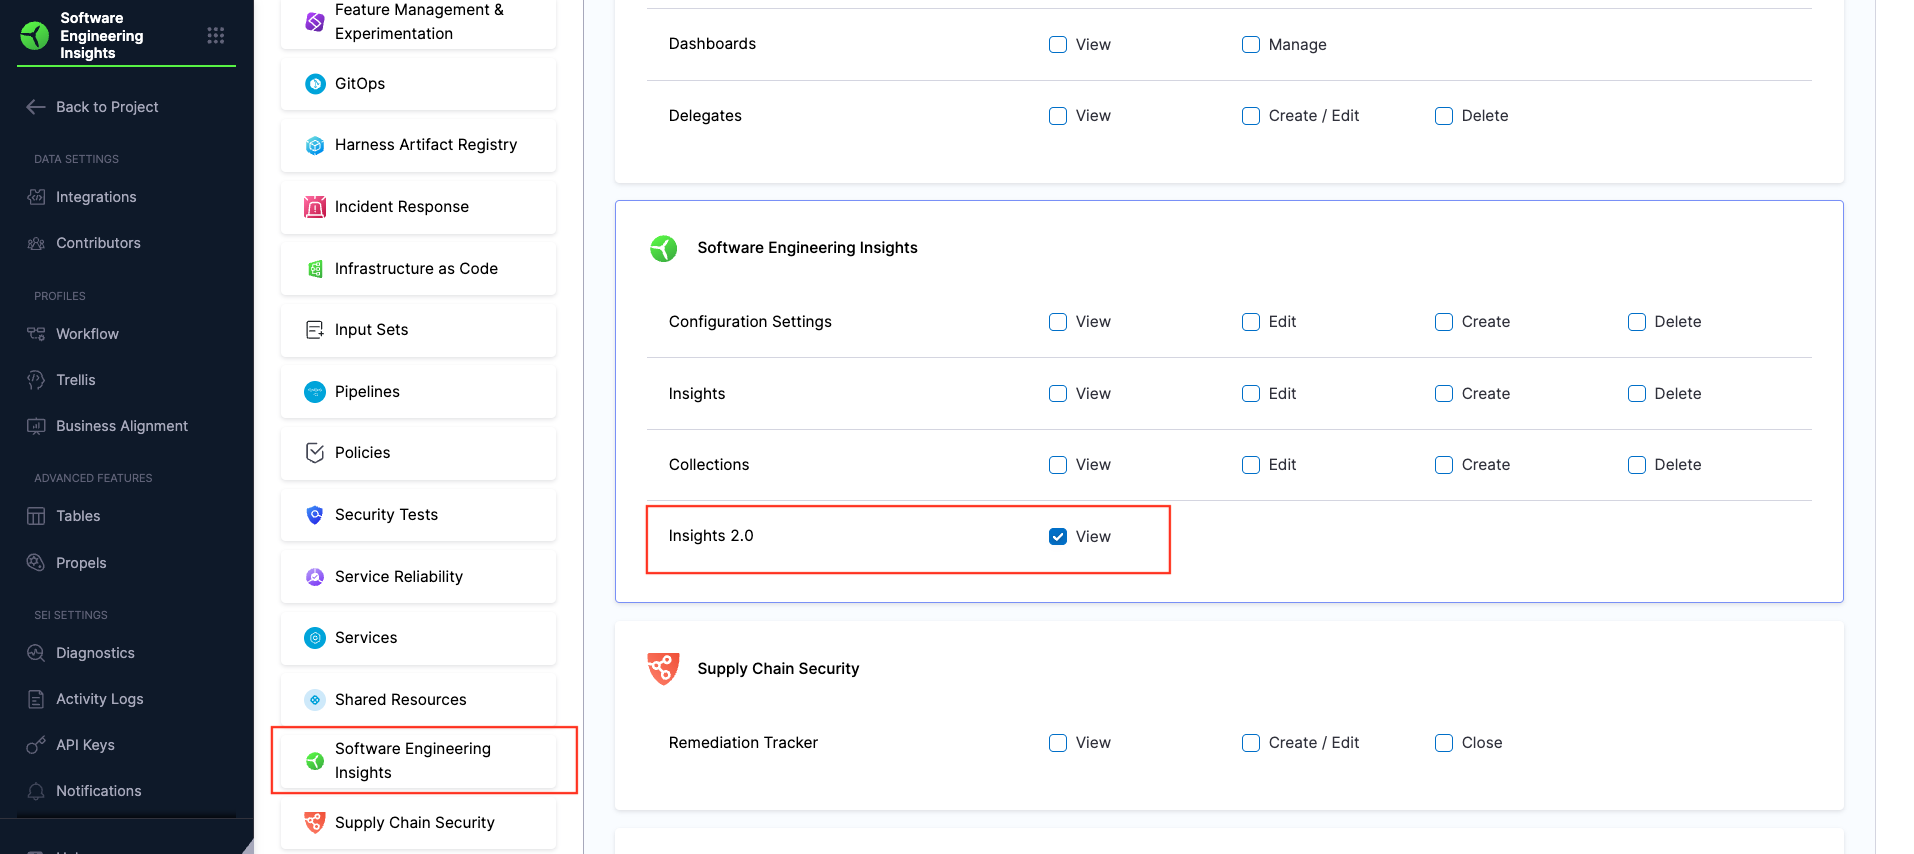
Scroll down to the Software Engineering Insights section.
-
Select the tab, check the box for Insights 2.0, and grant the View permission.
-
Click Apply Changes.
Step 3: Assign the Role to Users
After creating the role, you’ll need to assign it to the users or user groups who require access to the SEI 2.0 Experience.
You can assign the role to individual users or to user groups, depending on your organization's access control preferences.
-
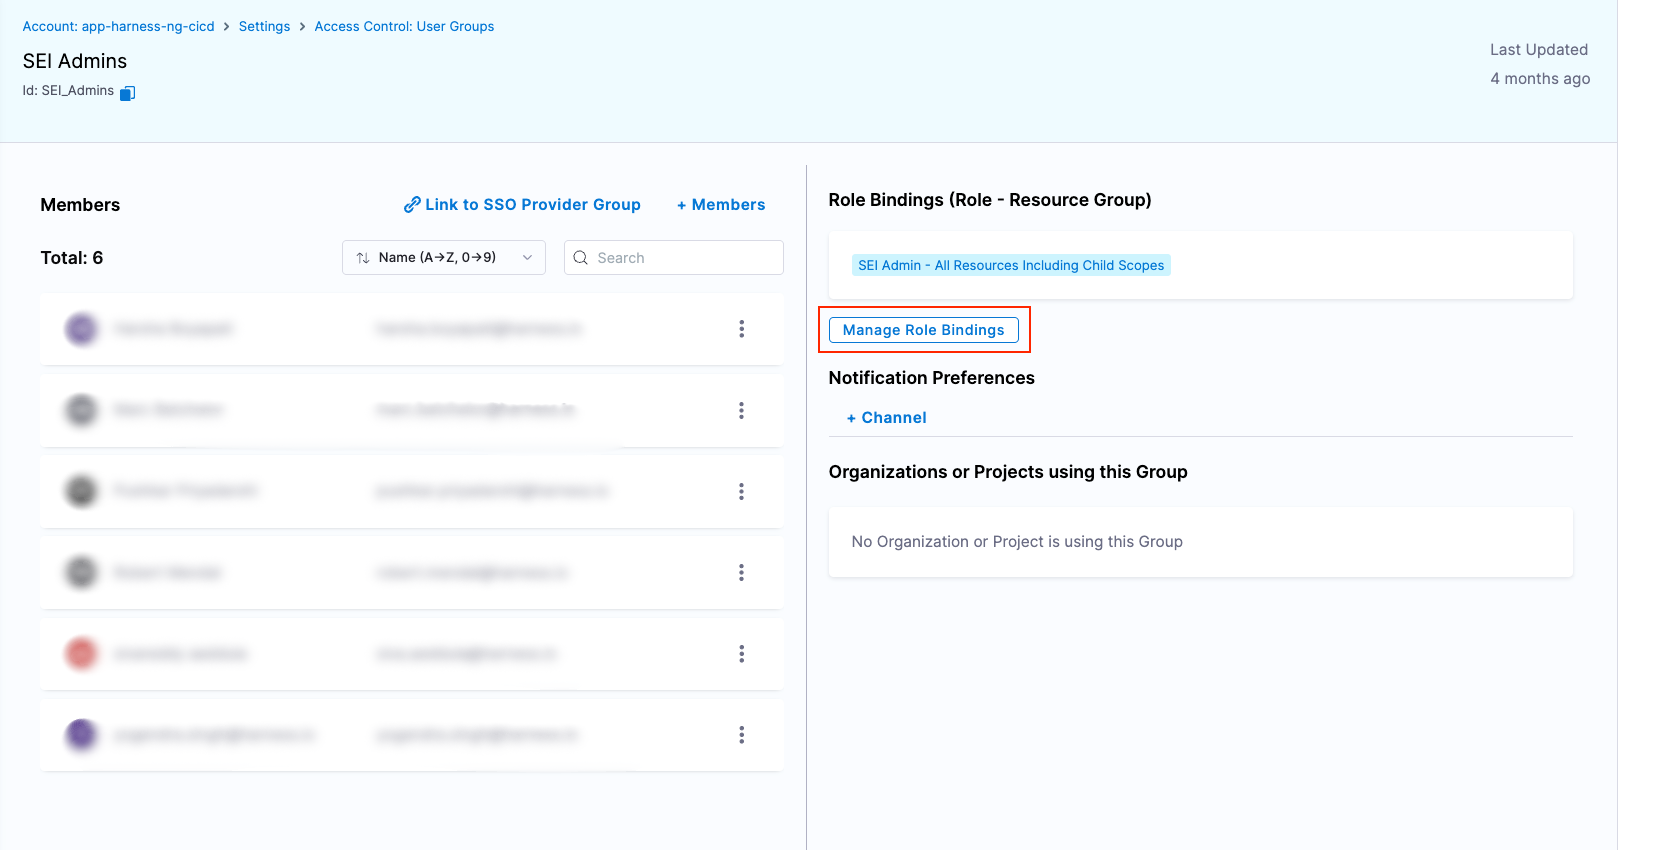
In Harness, go to Account Settings, and search for the user or user group where you want to assign the permissions.
-
Go to the Role Bindings tab, then select Manage Role Bindings.
-
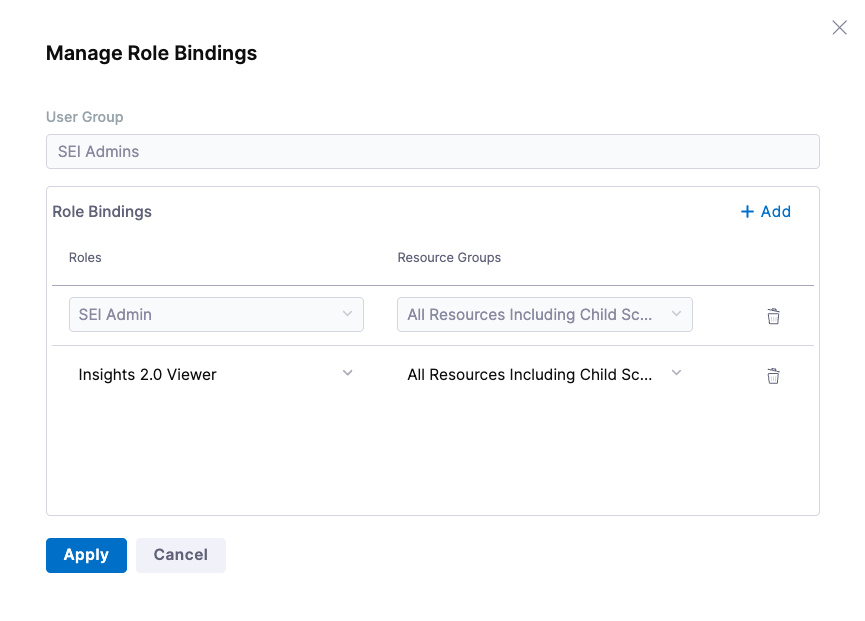
Under Role Bindings, select Add.
-
Under Roles, click Select the role that you created earlier in Step 2.
-
Under Resource Groups, select All Resources Including Child Scopes.
-
Select Apply. You will receive a notification stating Role Assignments updated successfully, and the role binding process is complete.
You're In!
After role assignment, users will be able to access SEI 2.0 from their existing SEI project within the Harness platform. The new experience will appear automatically once the feature flag is active and permissions are configured.